

As a business owner or marketing manager, it’s important to make sure your LinkedIn Page is managed efficiently and securely. By granting the right access to specific team members (or a marketing agency), you can start to enhance your LinkedIn marketing efforts.
That’s why in this blog, we’re providing you with a step-by-step guide for granting users with Super Admin access on LinkedIn, along with some important considerations to keep in mind.
Why Super Admin Access Matters
The Super Admin role allows a user to add, edit, or remove a Page and its paid media admins. This role is automatically assigned to the creator of a LinkedIn Page and is key to overseeing all administrative functions. By understanding how to manage these roles, you can maintain control over your LinkedIn Page and ensure it operates smoothly.
Important Considerations
Before adding an admin, there are a few key points to keep in mind:
- Connection Requirement: You can only add someone as an admin if they’re a 1st-degree, 2nd-degree, or 3rd-degree connection.
- Page Following: In some cases, a member might need to follow your Page before you can add them as an admin.
- Showcase Pages: Super admins of the parent Page aren’t automatically granted admin access to affiliated Showcase Pages. If you need admin access to an inactive Showcase Page (inactive for six months or more), you may need to contact LinkedIn support.
Now that you know about the Super Admin role and what it takes to add one to your page, we’ll show you how to complete the process. Follow the steps below to ensure a seamless and efficient setup for your Page:
Step-by-Step Guide to Adding a Super Admin
1. Access the Super Admin View:
- Go to your LinkedIn Page to navigate the Super Admin View.
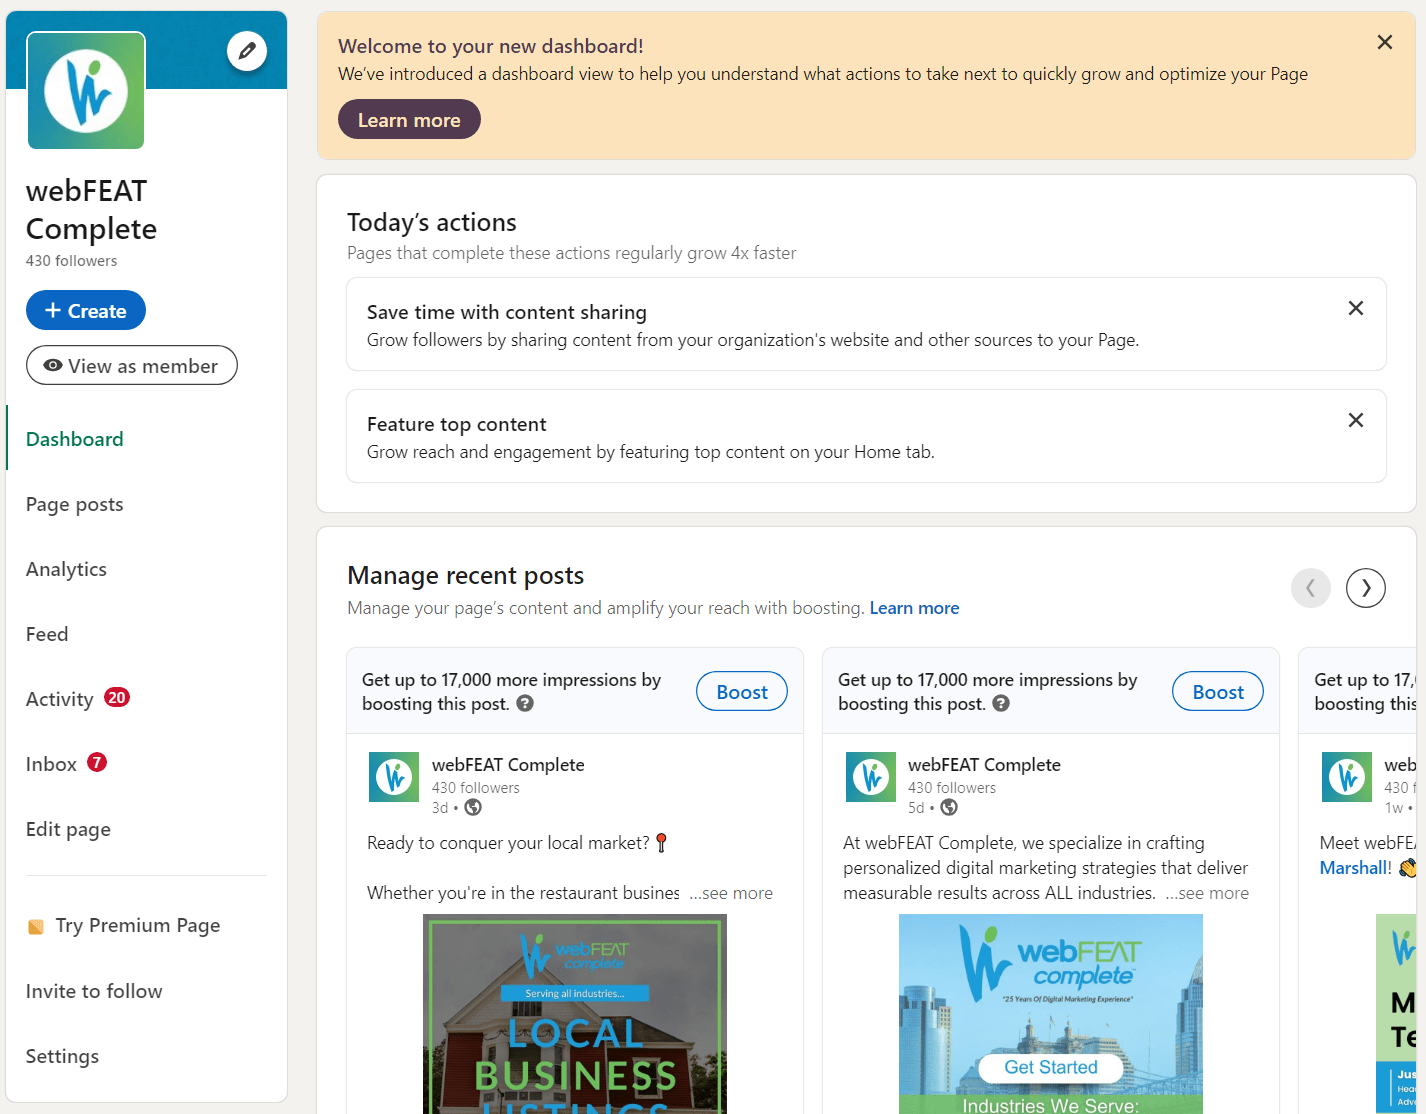
2. Navigate to Admin Settings:
- Click on Settings in the left-hand menu
- Select Manage Admins.
3. Select Admin Type:
- Choose either the Page Admins or Paid Media Admins tab.

4. Add a New Admin:
- Click the Add Admin button.
5. Search for the Member:
- In the ‘Search For A Member’ field, enter the name of the person you want to add.
- Select the name from the list that appears.
6. Assign the Role:
- Choose the required admin role for the selected person. Note:
- Only one Page Admin role can be assigned per person.
- More than one paid media admin role can be assigned without needing an associated Campaign Manager Ads account.
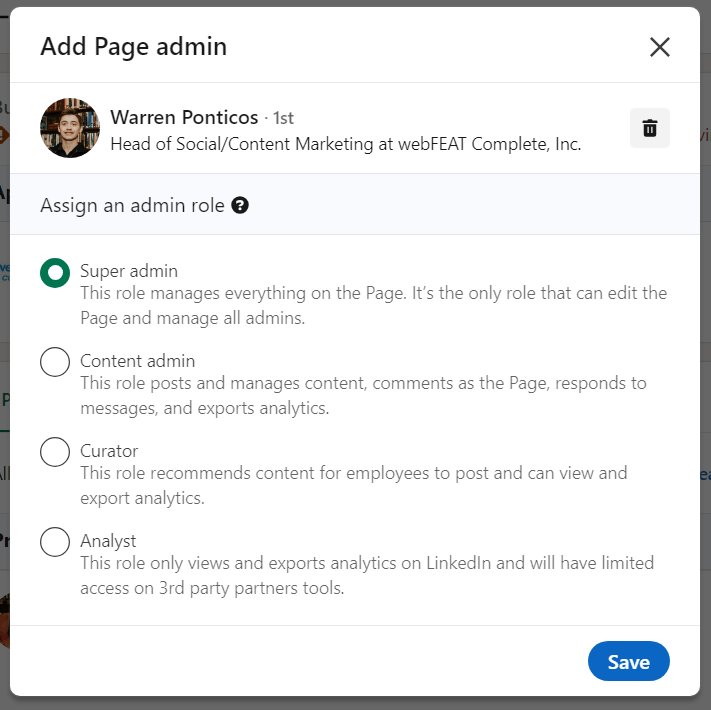
7. Save Changes:
- Click Save to finalize the addition of the new admin.
By following these steps, you ensure that the right people have the appropriate access to manage your LinkedIn Page effectively.
Conclusion
Granting Super Admin access on LinkedIn is a straightforward process, but it’s important to understand the roles and restrictions associated with it. As a business owner or marketing manager, you want to ensure that your LinkedIn Page is in capable hands, helping to drive your marketing strategy forward.
If you have any questions or need further assistance with your LinkedIn Page management, feel free to reach out to our team at webFEAT Complete. We’re here to help you navigate the digital landscape and achieve your marketing goals.