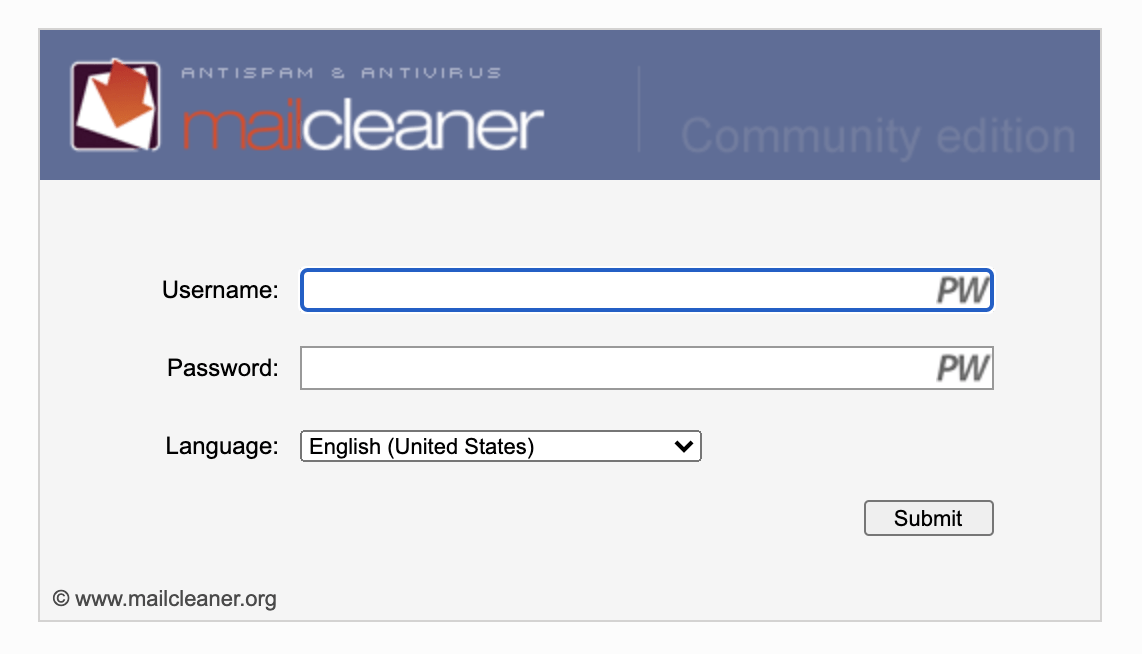
Email quarantine holds messages flagged as spam and sends you reports daily at 4PM. If nothing is held you will NOT get a report. Follow the steps below to access/set up your email quarantine and review your held emails.
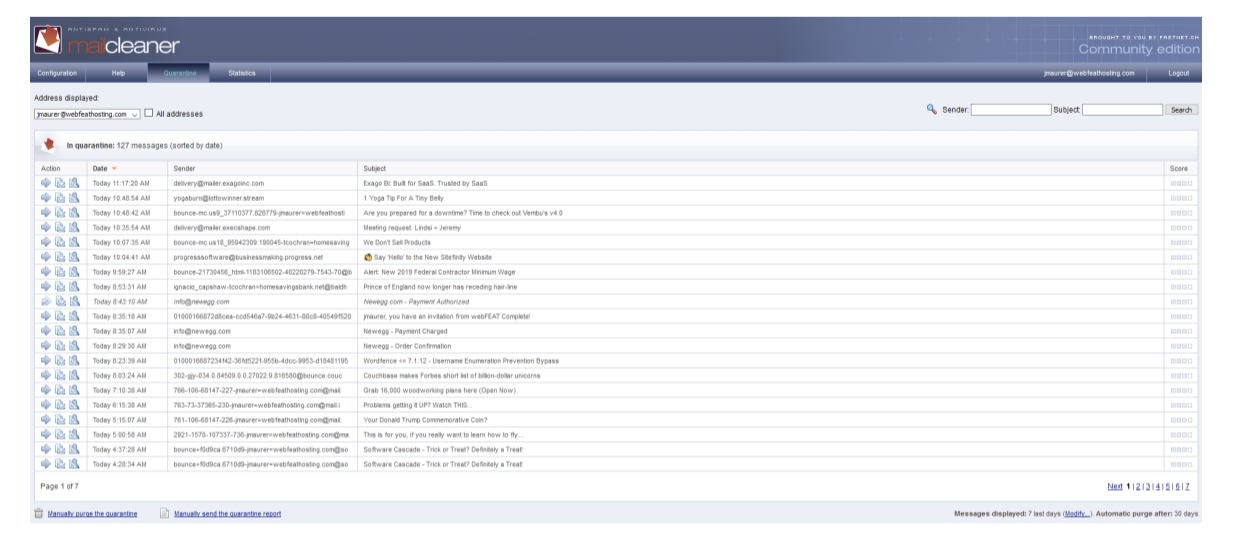
Once you have successfully logged in to the mail cleaner quarantine you will be shown the following screen, listing any/all held email for the past 30 days.
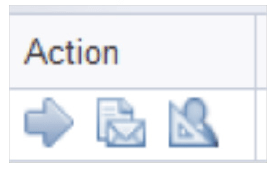
Important Icons
The arrow – will release the held item from the quarantine
The message – allows you to preview the message
The triangle – send a request to make an adjustment to filtering based on this message
Step 3: Preview a Held Email
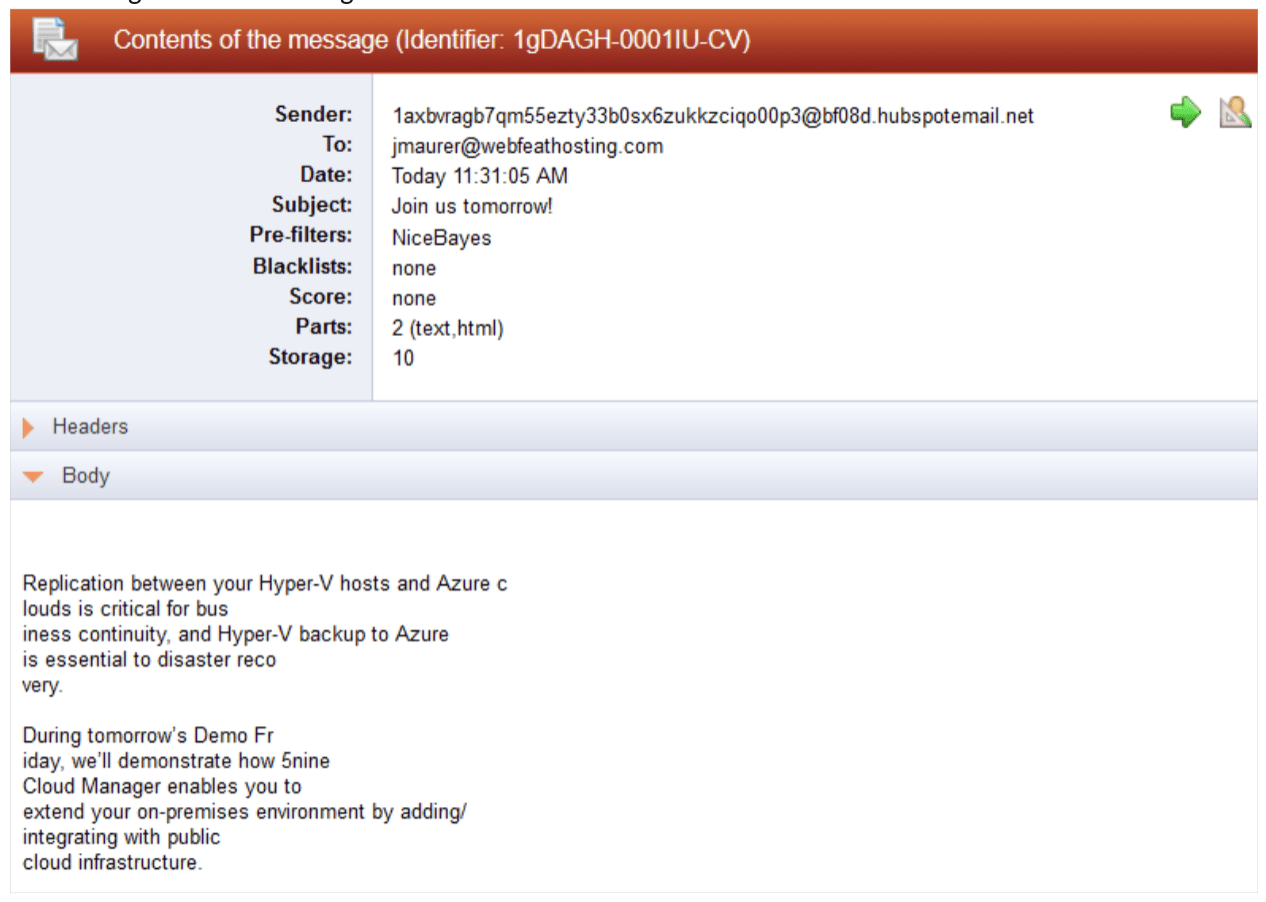
If an email has been held and you are not sure if you want to release it to your inbox, you can click on the “message” icon to preview the contents of the email to better determine the legitimacy of the email. The section that will help you determine if you want the email or not is the BODY section.
Held Mail Examples
The examples shown below are the different ways a message may be shown in the email quarantine.
Example #1
In this example, the email body is displayed in plain text, and easy to see that it is a legitimate marketing email. This email can be released from quarantine.
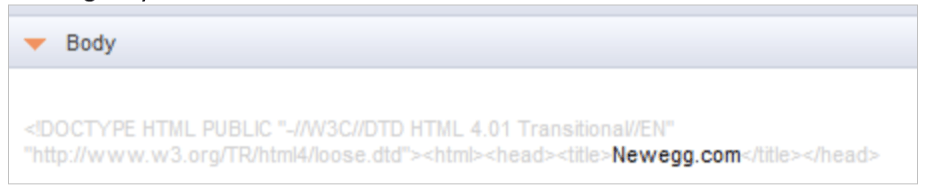
Example #2
This example isn’t as easy to determine. This could be legitimate if you find keywords that signal you to release.
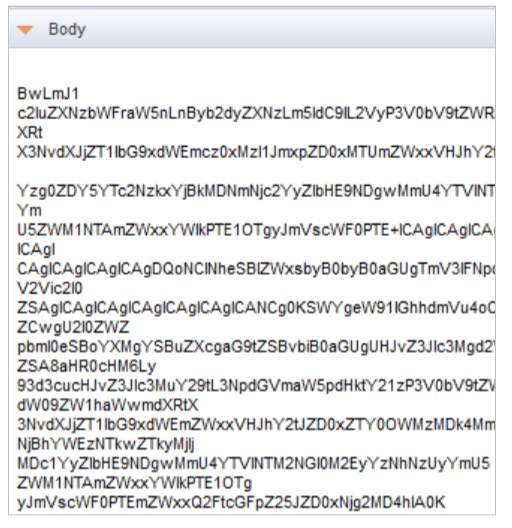
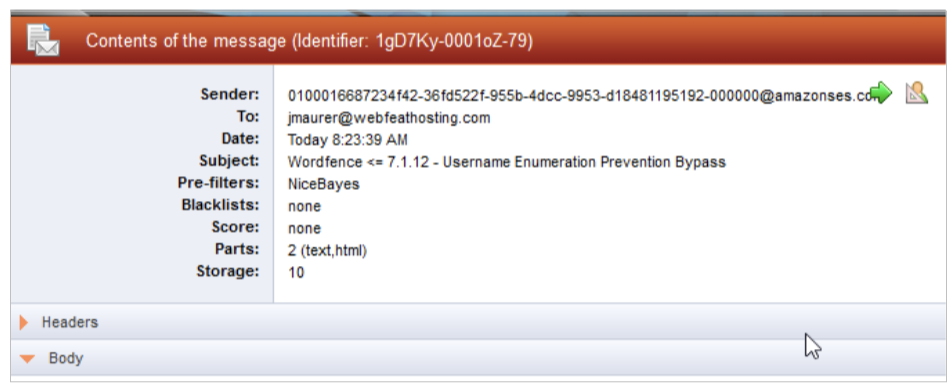
Example #3
Step 4: Release a Held Email
Releasing a held email to your inbox can be accomplished in two ways: through the Quarantine View or through the Preview. Below explains how to do both.
Quarantine View
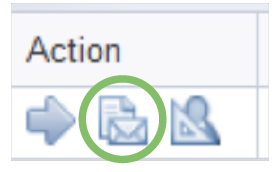
If you have identified an email from a good/known sender or recognize it and definitely want the email released simply click on the “Arrow” icon. (Green in this example)
Preview
If you have identified an email from a good/known sender or recognize it and definitely want the email released simply click on the “Arrow” icon. (Green in this example)
After clicking the release button, you will get a confirmation pop window. Click the close button or the “X” for the popup window (depends on browser) and in a moment the email will be delivered to your inbox.
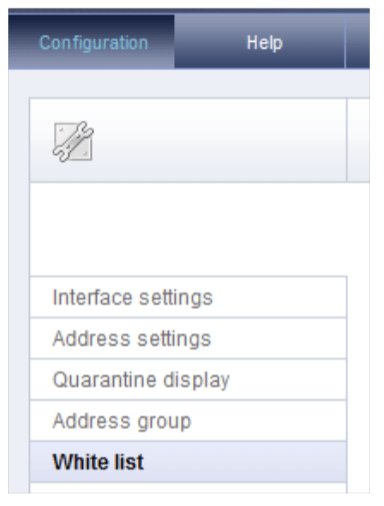
Step 5: Whitelisting
If you have found that you want to whitelist an email address or an entire domain due to it be held in the quarantine, you can do so by navigating to, Configuration > Whitelist.
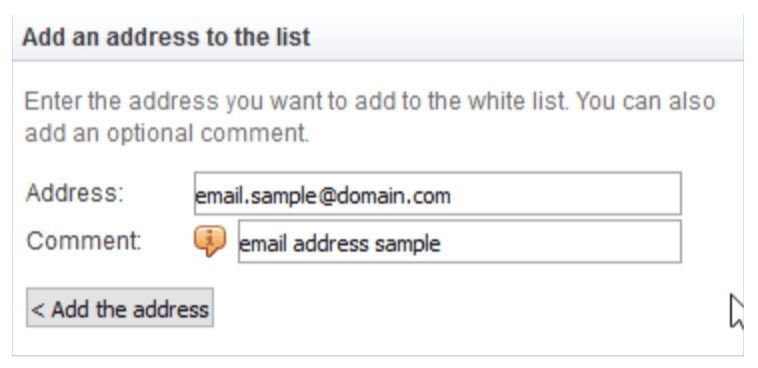
Adding a Whitelist
The syntax is as follows:
Email: insert the email address in the “address” field and a comment if desired to identify it later if it is not obvious.
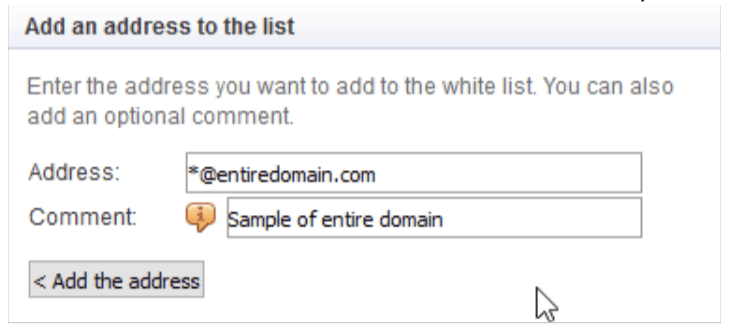
Domain: to whitelist an entire domain the syntax is *@example.com
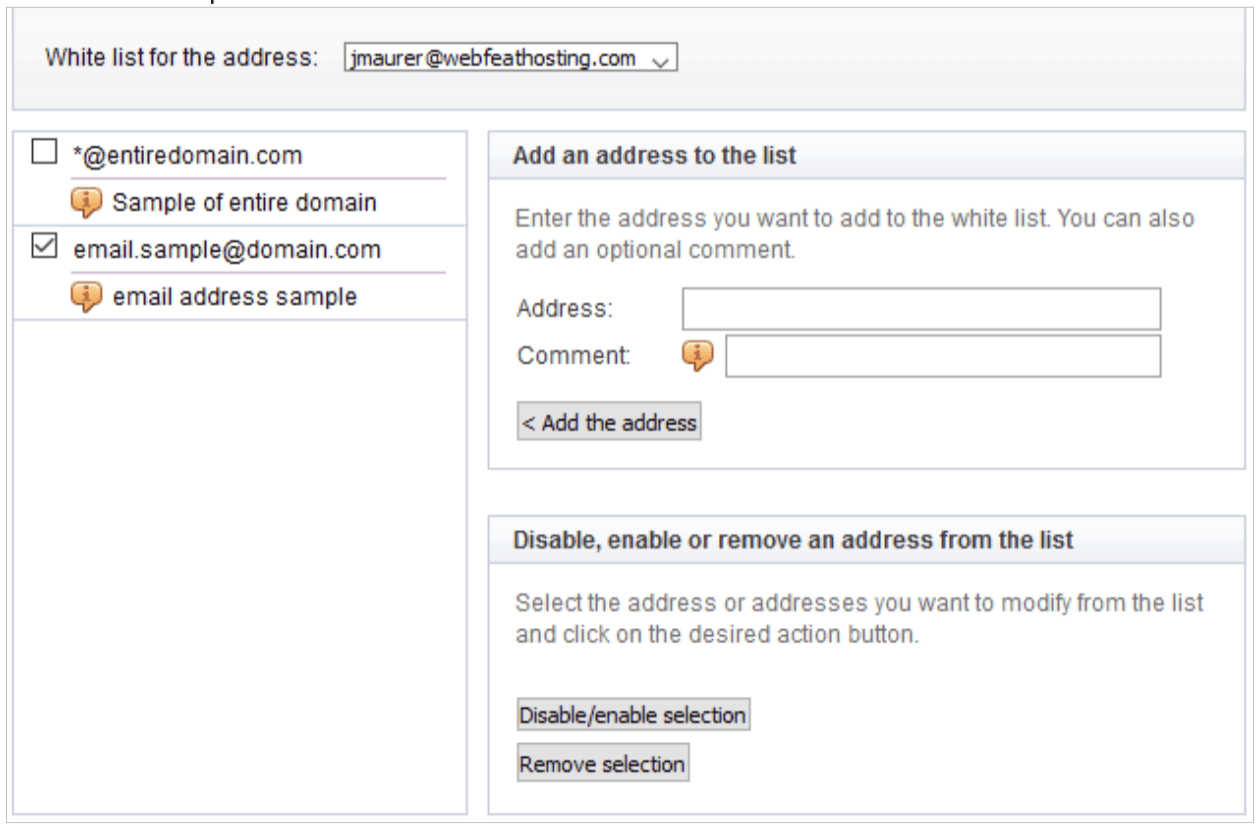
Removing/Disabling a Whitelist
In the event you have added an incorrect whitelist and need to correct it, it has to be deleted then re-added. To accomplish this add a checkmark to the left of the item and click on the desired action.